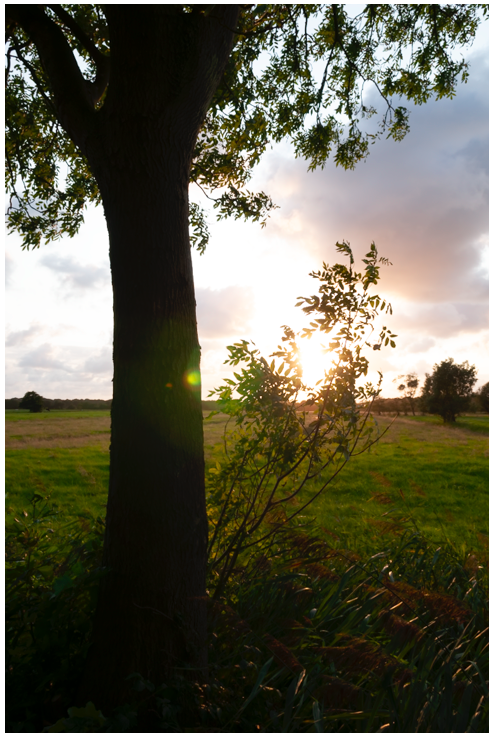
Bob's Quick Photoshop Tutorial #9
31/08/2018
-
Today's Topic:
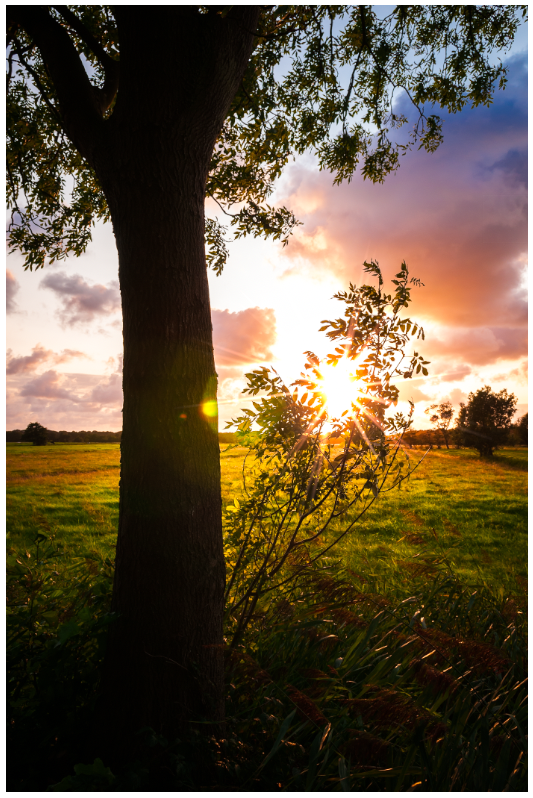
Create a stunning sunset shot with glowing light and deep shadows.
-
Step 1:
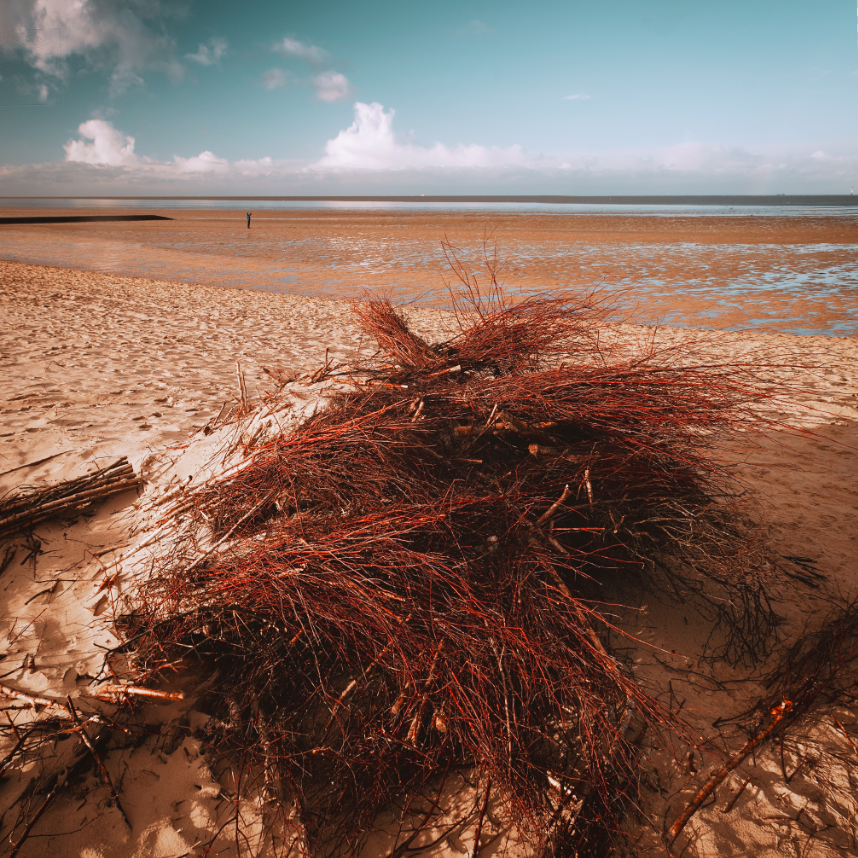
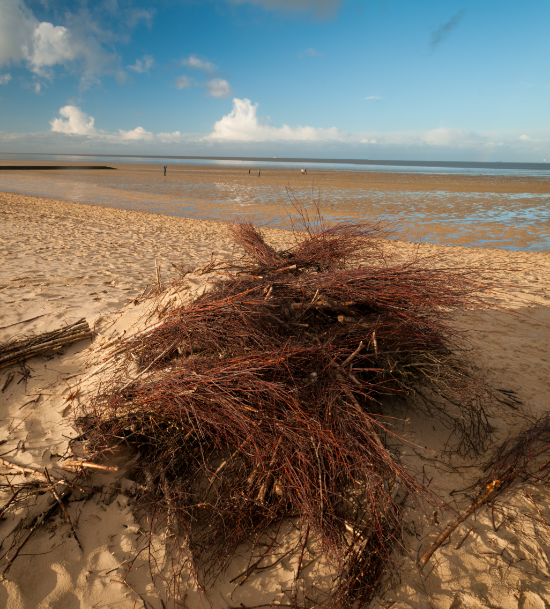
Wait for some cool evening light, find a tree for your foreground and let the light leak through the leafs. Frame your picture as you wish and press that shutter button.
-
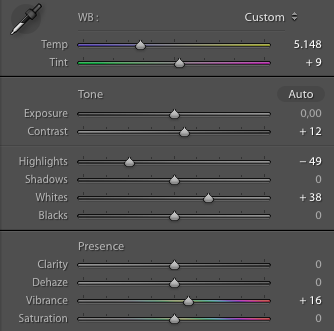
Step 2:
Head into lightroom and start with your basic adjustments after you've done some lens corrections. Find a satisfying temperature and bring back some highlights which got burned out by the sun. Push in whites again to keep a natural look of the harsh backlight.
-
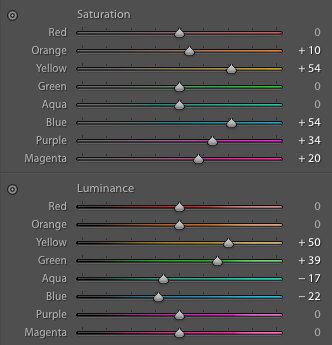
Step 3:
Now move over to the color panel and increase the saturation of the yellows and blues to make the clouds stand out a bit more. Also increase the luminance of the yellow tones to prevent yellow parts to edge out and get a smoth transition towards the bright sun. Increase the greens to make the grass pop and bring down the blue tones to increase the contrast in the clouds.
-
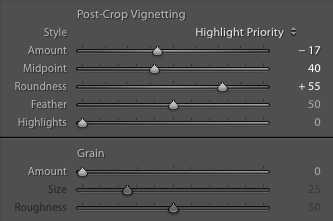
Step 4:
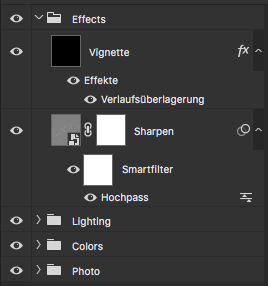
After creating a light vignette you are done with the Lightroom part. Now open the image with Photoshop.
-
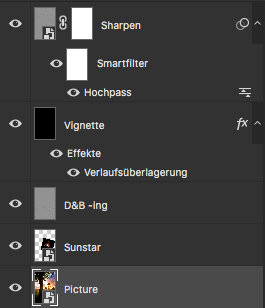
Step 5:
In Photoshop you can add a sunstar if you haven't got one in camera. Find a good and natural looking one in the internet, open it as a new layer and resize as well as move and rotate it around until it fits the sun perfectly. Change the blending mode to "add" to get rid of the black background. After some dodge and burning you can add some local contrast with you are ready for the sharpening.
-
Step 6:
Finally save the image, get back to Lightroom and export your piece of art.
Bob's Quick Photoshop Tutorial #8
30/07/2018
-
Today's Topic:
Produce a crisp, influencer-ready filter look. Featuring Bob's Squarema™ technique.
-
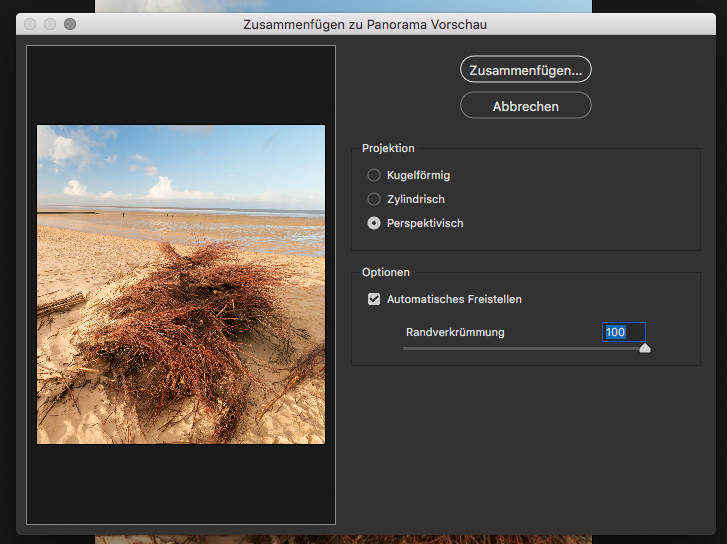
Step 1:
Get your photo. You can just take one and crop it squary afterwards or, as I did in this example, take two images you can combine to a Squarema™ (panorama that is not panorama but square).
-
Step 2:
In case you decided to make a Squarema™, you open both pictures in Camera Raw and start with your basic lens corrections on one of the two photos. Clone the settings to the second image and combine them as a panorama.
-
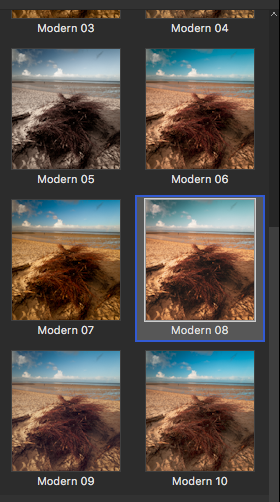
Step 3:
After doing so, make a few more corrections such as white balance, dynaming and presharpening in Camera Raw. To get a basic instagram-ish look, apply an adobe profile from the "modern" section. Drag down the blacks to limit the flatness.
-
Step 4:
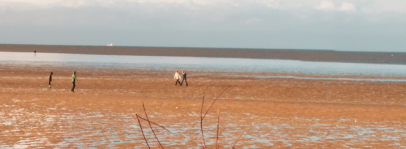
After importing the resulting DNG into PS, continue with some retouching. In my example I cleaned the minimal panorama errors and got rid of some tourists.

-
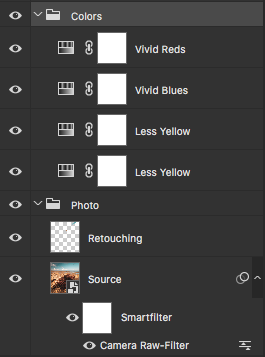
Step 5:
Now the actual filtering starts. Push up less dominant colors and desaturate the more present ones by using the saturation effect layer.
-
Step 6:
To create a more balanced look, separate shadows and highlights. Warm up the dark parts and make the light's warmth a lot less. You can achieve that by applying luminosity masks on yellow and blue filters.
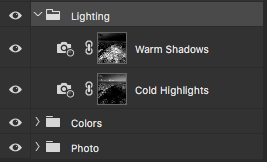
-
Step 7:
Finally, crop the image to 1:1 ratio and straighten the horizon if necessary. Add some vignette and finish your instagram-ready photo with post-sharpening.
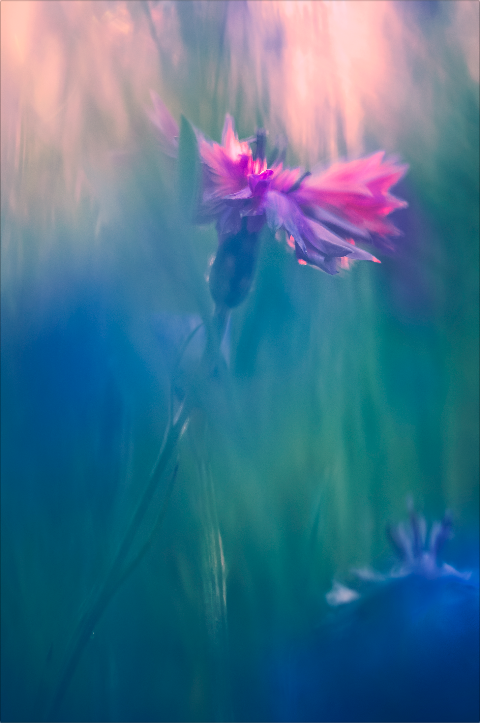
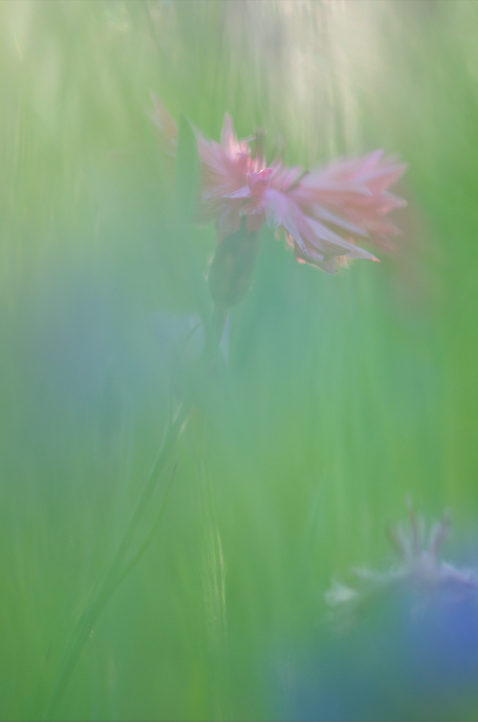
Bob's Quick Photoshop Tutorial #7
07/07/2018
-
Today's Topic:
Get back color which got faded away by hard backlight.
-
Step 1:
Lie down into the grass, search for some great composition of a flower and take your shot.
-
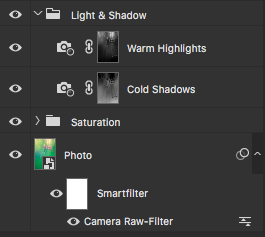
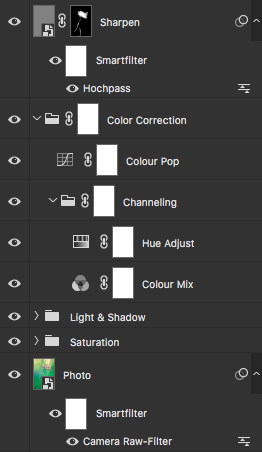
Step 2:
Do your basic editing by using the Camera-Raw smartfilter. With saturation adjustments, you can start getting back colors which are important in your photo.

-
Step 3:
To get control over the washed-out look, separate bright and shadow areas and adjust their exposure. This is an easy task when using luminosity masks on filter layers.
-
Step 4:
Now the Bob™-ish part smashes in. Get down on the color level and throw in some unicorn poop.
-
Step 5:
Publish your work on instagram and watch the follower counter boom af.